I have mentioned before that this is NOT a food blog, and I do not have the printable recipe cards (they are only included in the most expensive plan, and I just cannot afford that since I make nothing off of this blog). So, this is just the best that I can do with what I have!
I bought my sourdough starter from Whispering Willow Farm‘s website. His name is “Otis.” I’m pretty sure the price has gone up since I bought it… To me, it was worth the cost!
What You Need to Make Sourdough

- Sourdough tools: Banneton proofing basket, Danish dough whisk (can just use your hands, but I find that this tool helps a TON), scoring knife, dough scraper (I purchased these tools in a set- Superbaking Bannoten bread baking set)
- Something to bake it in. If you click on each one, you will find examples. I haven’t actually used these specific brands: Cast iron (deep) pan with lid, Dutch oven, roasting pan with lid, and/or glass loaf pan (I cover mine with a cast iron pan for the first half)
- Plastic Wrap
- Rice flour (to keep it from sticking to the banneton)
- Parchment paper
- Tea towels
- Unbleached bread flour (I sometimes use half fresh ground hard white wheat)
- Filtered water (you cannot use tap water because the chlorine in it slows down/prevents the fermentation- I am currently just using distilled water but hope to get a good filter eventually)
- Sourdough starter (I keep mine in a mason jar with a coffee filter on top)
- Food scale to measure grams
How to Make Sourdough
I will try to break it down step by step. Ultimately, it’s hard to show how to do it with pictures. My goal is to do a video series eventually, but this is what I’m going to start with. Please let me know if you have any questions!
To have a healthy sourdough starter, I feed it daily. Sometimes even twice a day. To do this, discard 50g (if you’re not baking that day… if you are, you don’t need to discard). Add 50g of flour and 50g of water. Mix thoroughly. A lot of people use fancy tools to mix; I just use a butter knife! Make sure you rinse well! I keep mine in a mason jar with the outer part of the lid holding a coffee filter on it. You can also set the metal top on it without closing it in with the ring. As long as it’s not on tight; it needs to breathe!

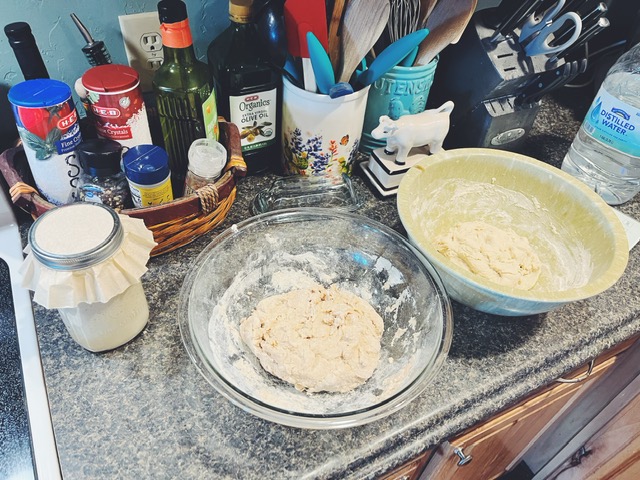
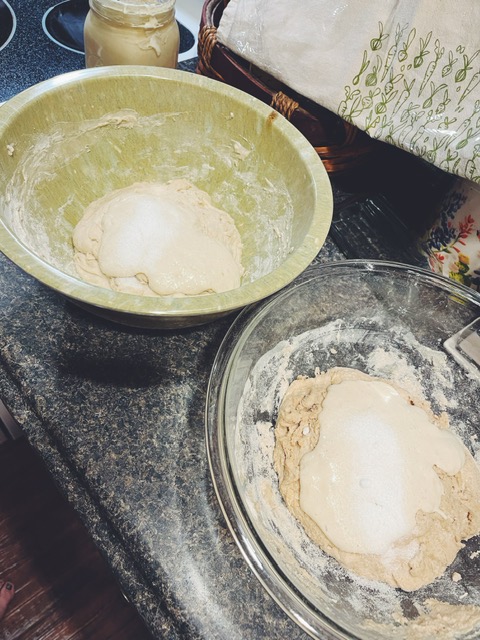
1. The first step is the autolyse step. This is just mixing the flour and water to turn starch into sugar, form gluten, and hydrate the flour. I do a 70% hydration which means I use 350g of water to 500g of flour. Less water makes it easier to work with! I mix the two and allow to sit for an hour with plastic wrap and a tea towel on top.
2. After this happens, I add in 12g of salt and 100g of the sourdough starter. Mix well using your dough whisk. Make sure that the starter and salt are throughout the dough. Cover with plastic wrap and a tea towel. For me, the plastic wrap is one of the most important things. The dough needs to stay moist the whole time. I have tried other methods (like using a wet tea towel), and this works the best.

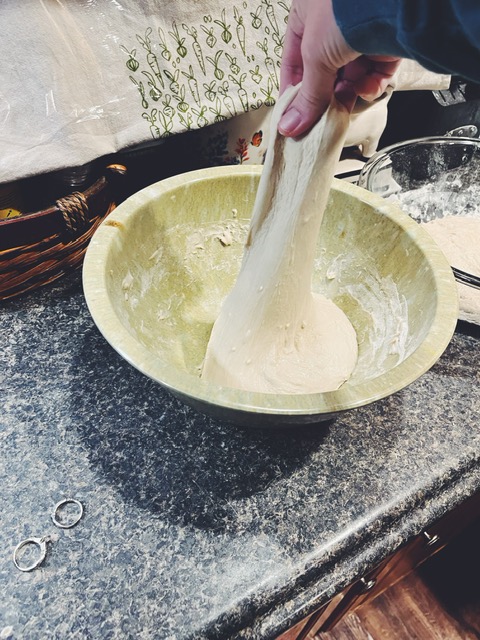
3. For 2 hours, you will uncover, stretch and fold all the way around (I just stretch and fold until it’s hard to stretch), and cover again, every 30 minutes. This is the part that is hard to show with pictures, so you could look it up on YouTube or something to visualize it. You just literally pull up a chunk and fold it over.
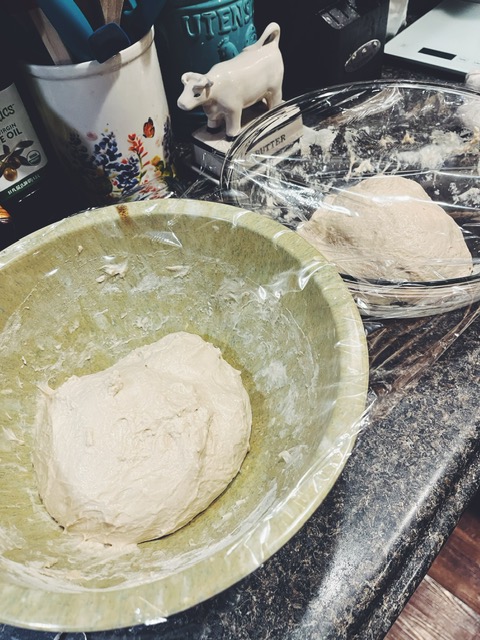
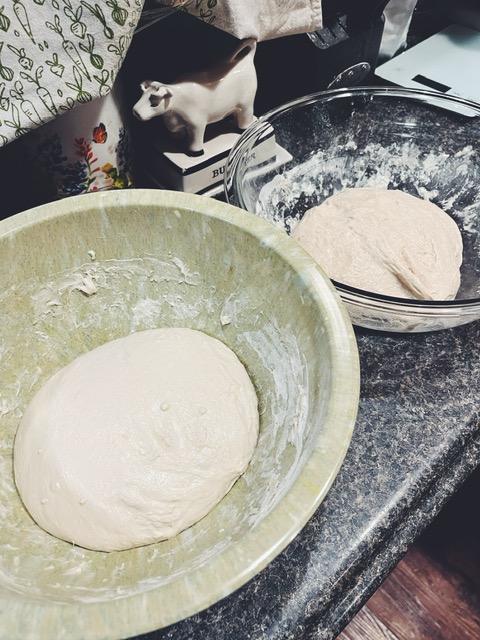
4. After 2 hours of this, cover with the plastic wrap and tea towel and allow to ferment for 8-10 hours. I usually get it set up to ferment over night. You could also set it up to ferment during the day! Either way works fine.
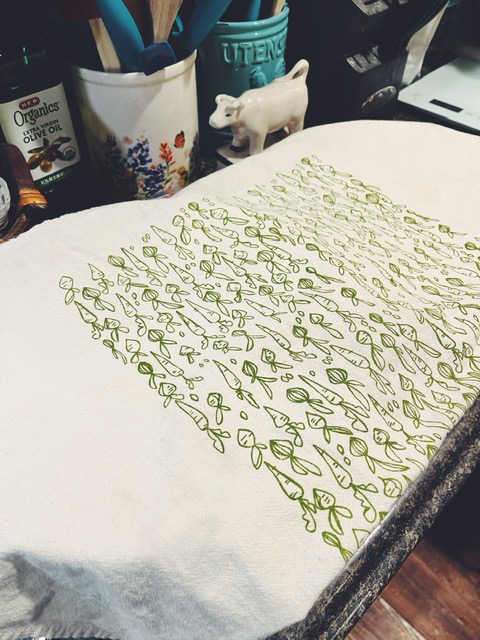
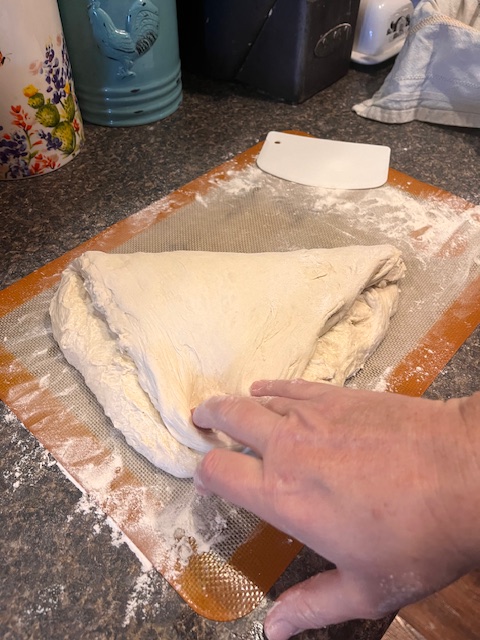
5. In the morning, I set it up to proof. I place a cloth napkin in my bannoten to keep it from sticking. You could also use a LOT of rice flour or use a tea towel! Next, I get a silicone mat (or you could just use your counter), and cover with flour. Sprinkle the dough with flour and spread it out a bit.

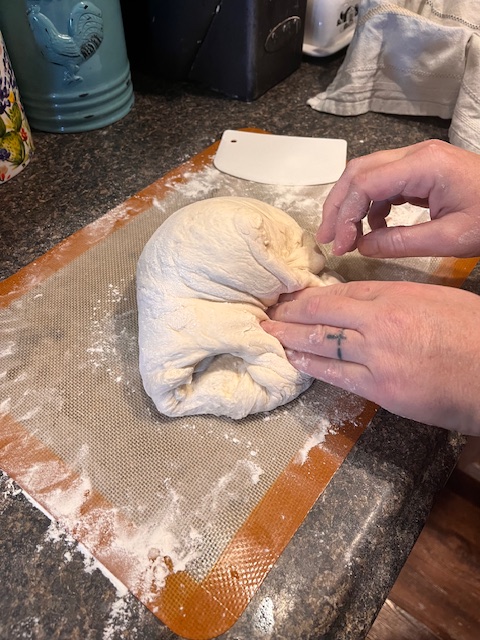
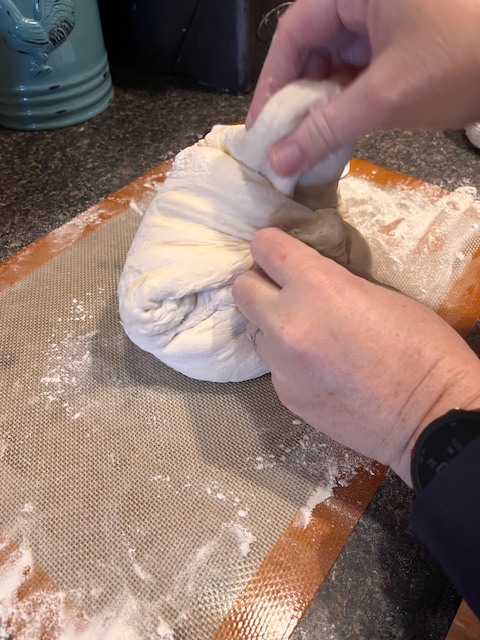
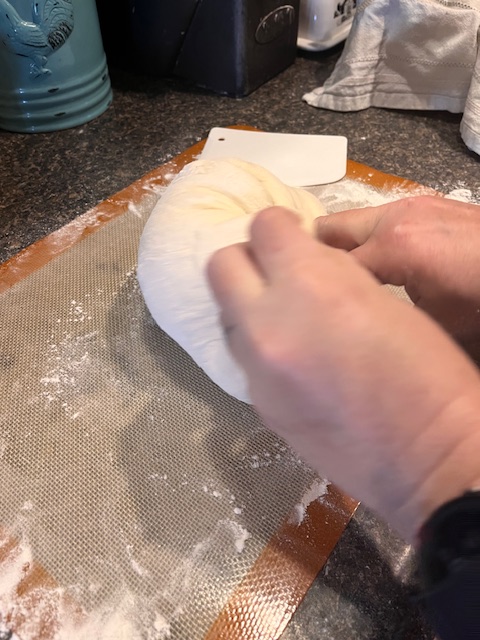
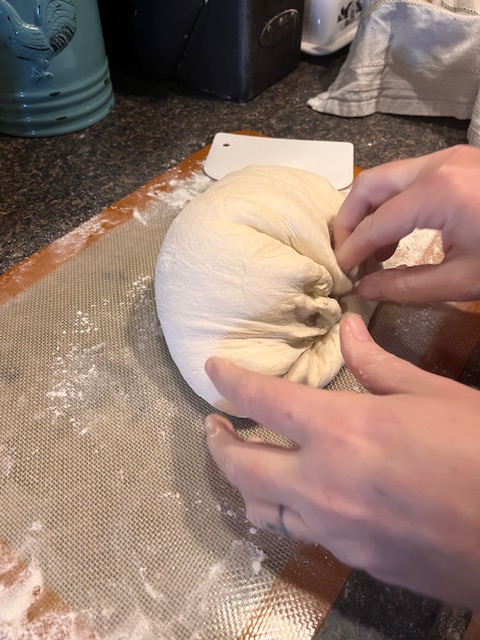
6. Next, fold it into itself many times until it is very tight. Pinch off the seam.


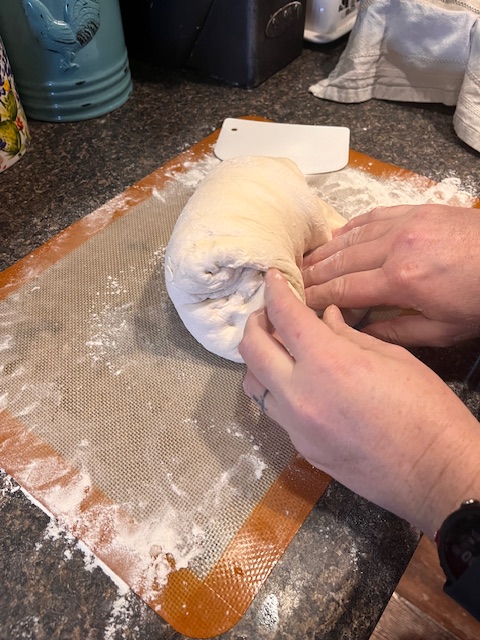
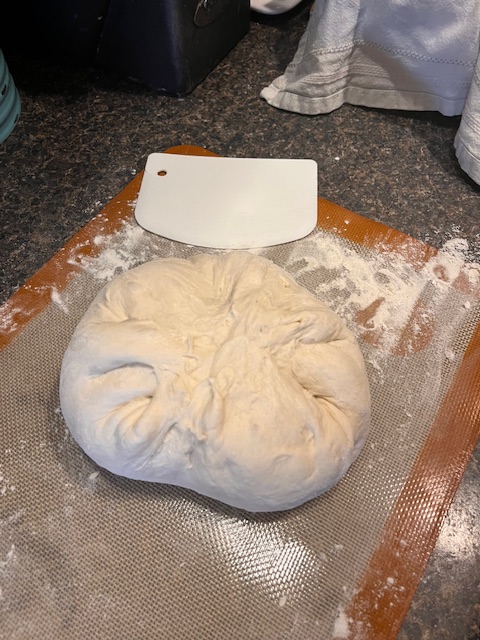
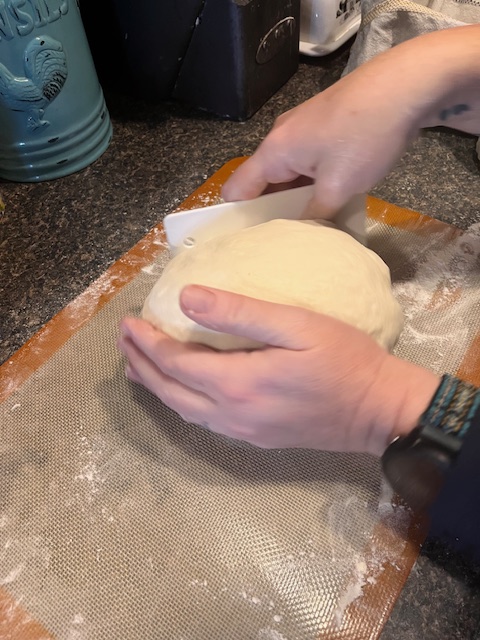
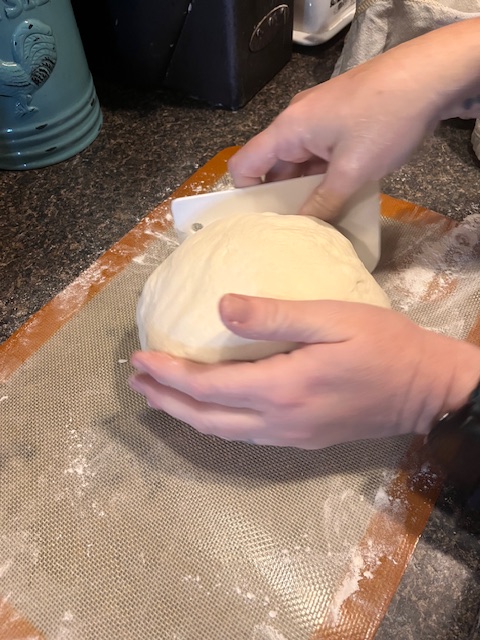
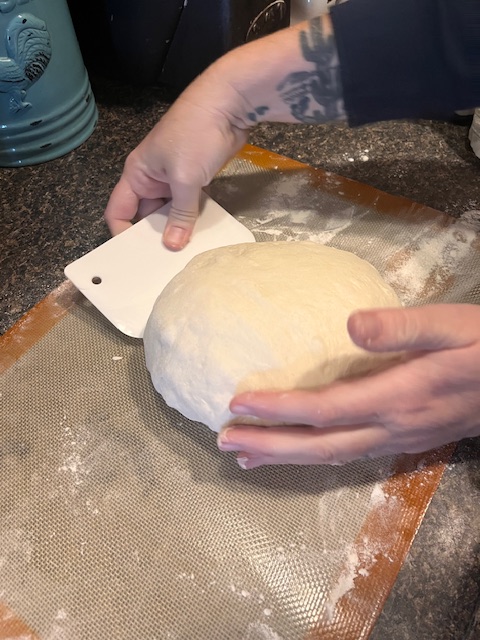
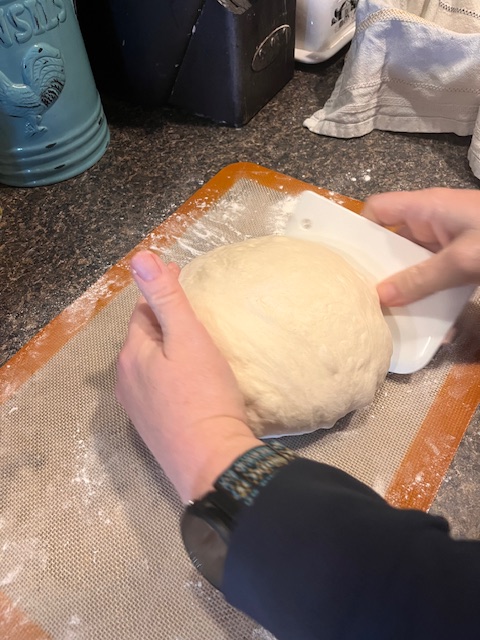
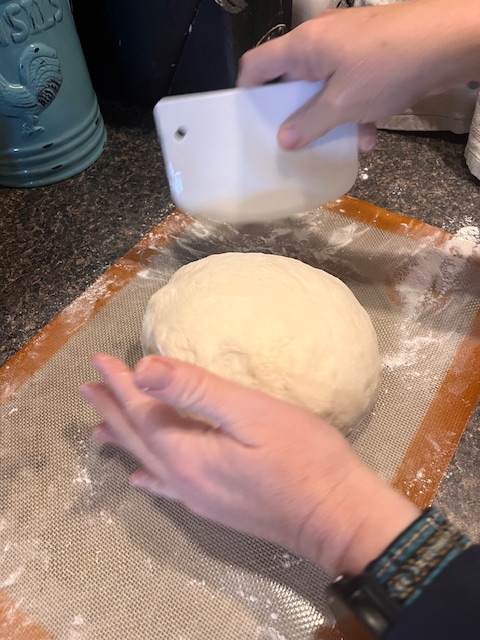
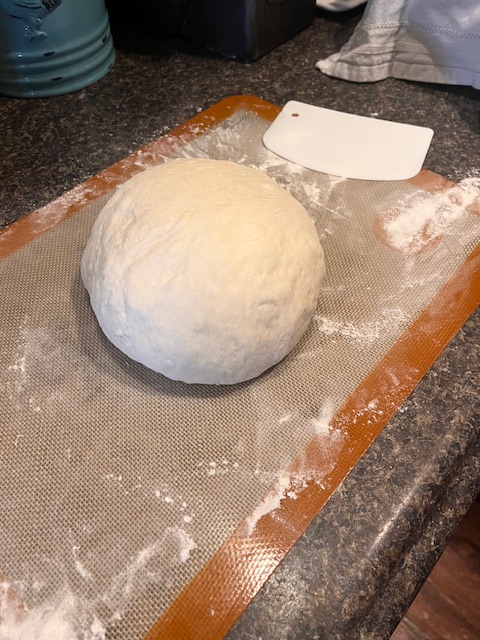
7. Then you’ll turn it over and use your dough scraper to “create tension” and form a round ball. To do this, you just scrape under it, turn it, scrap under it, turn it, and do this several times until it’s tight and round.
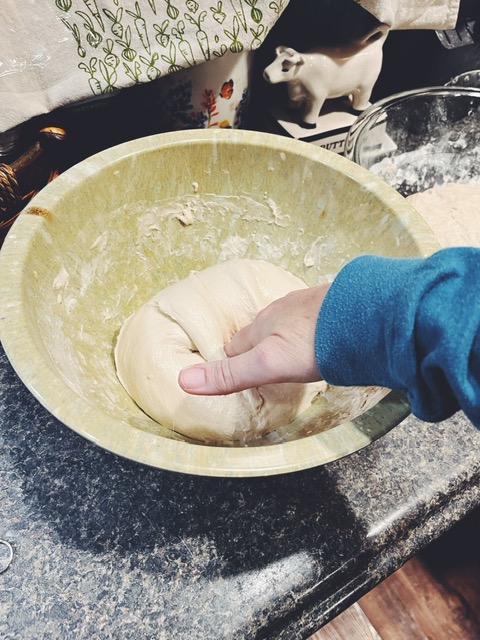
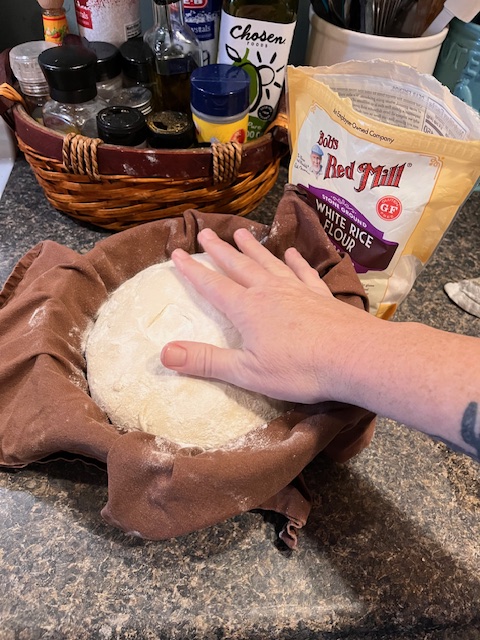
8. Once shaped, place in banneton with the rounded side down and the seam side up. Cover with plastic wrap and a tea towel again, and allow it to proof. I usually do a cold proof because it makes it much easier to score! I will stick it in the fridge for 5-8 hours. You can also proof it on the counter, but it’s not at easy to score and tends to be flatter. On the counter, it’ll take about 3 hours. When I pull it out of the fridge, I rub it with rice flour before I put it on a piece of parchment paper so it doesn’t stick. This is what it looks like when it is ready (you should be able to place your finger in it, and it will bounce back).

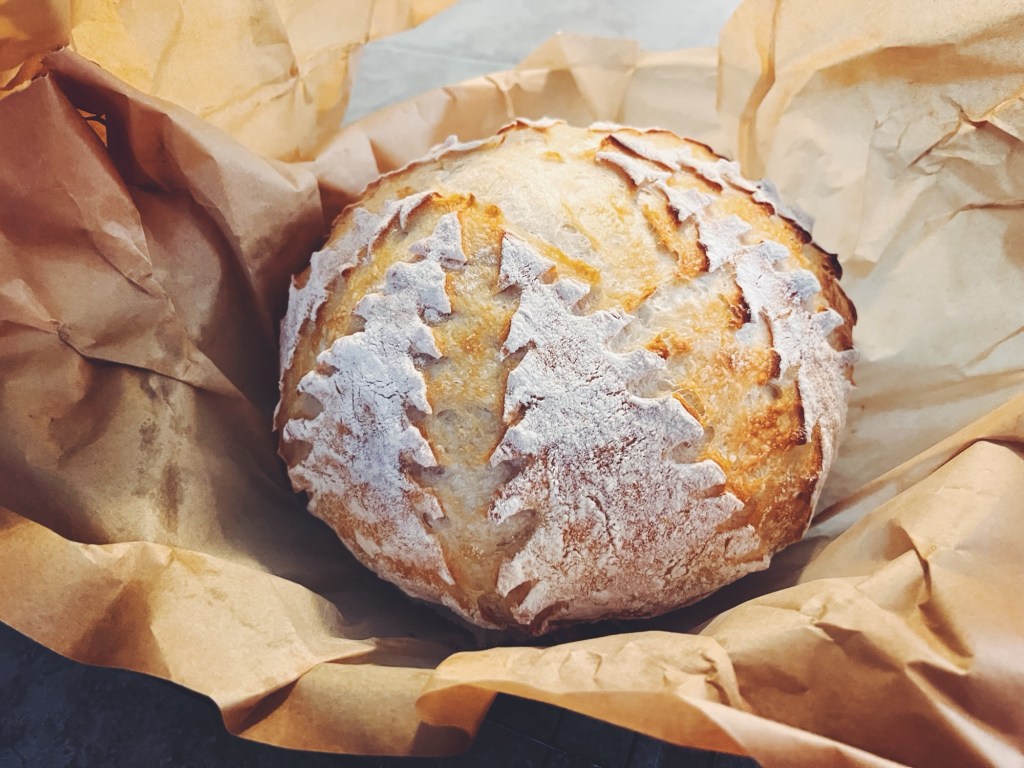
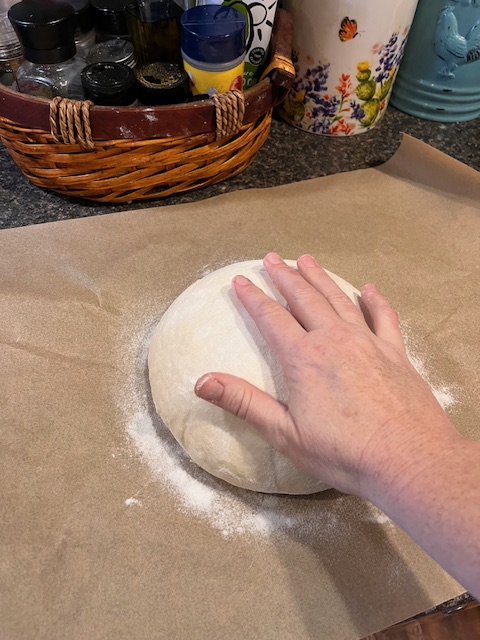
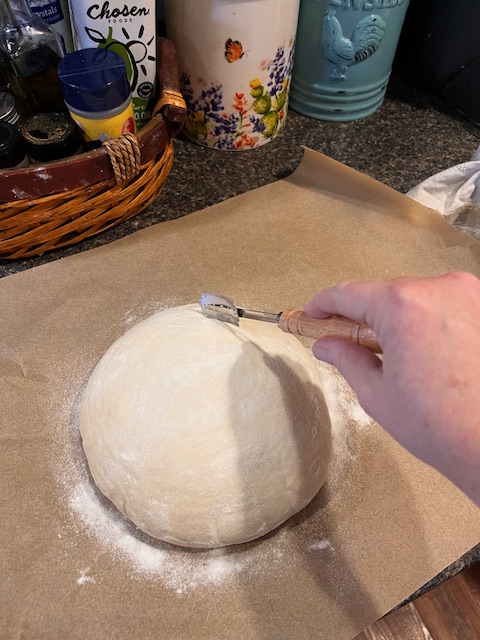
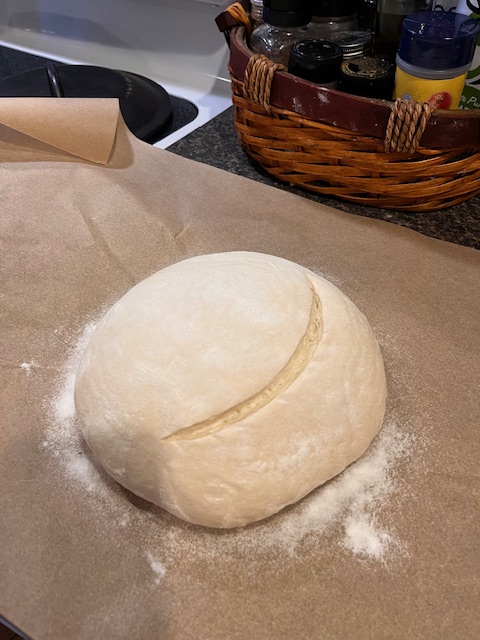
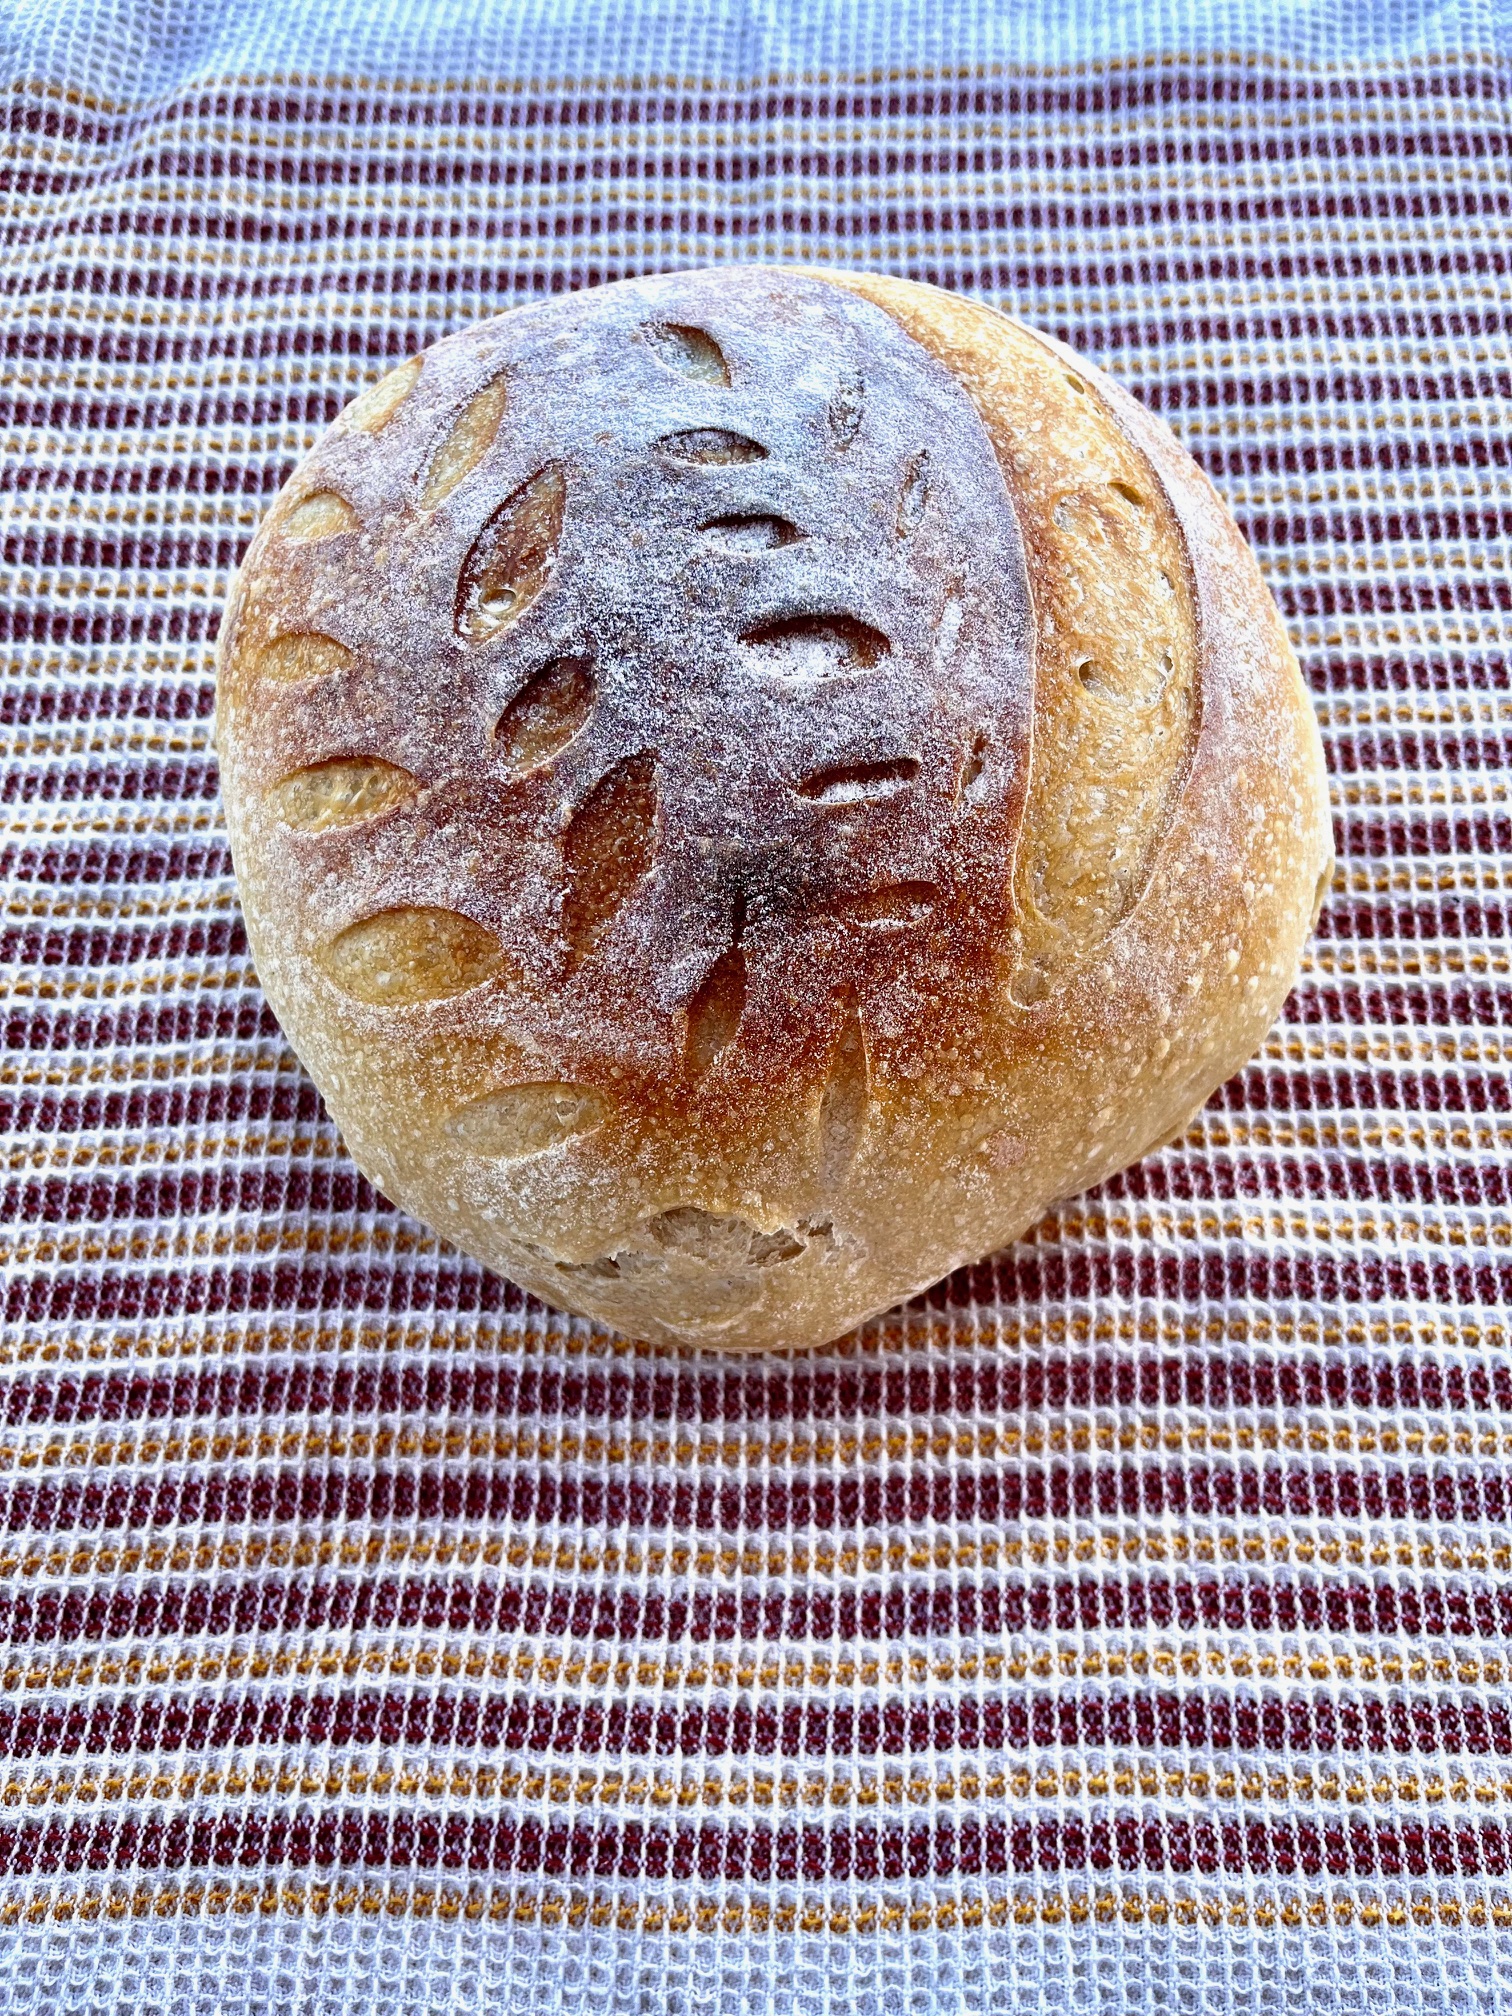
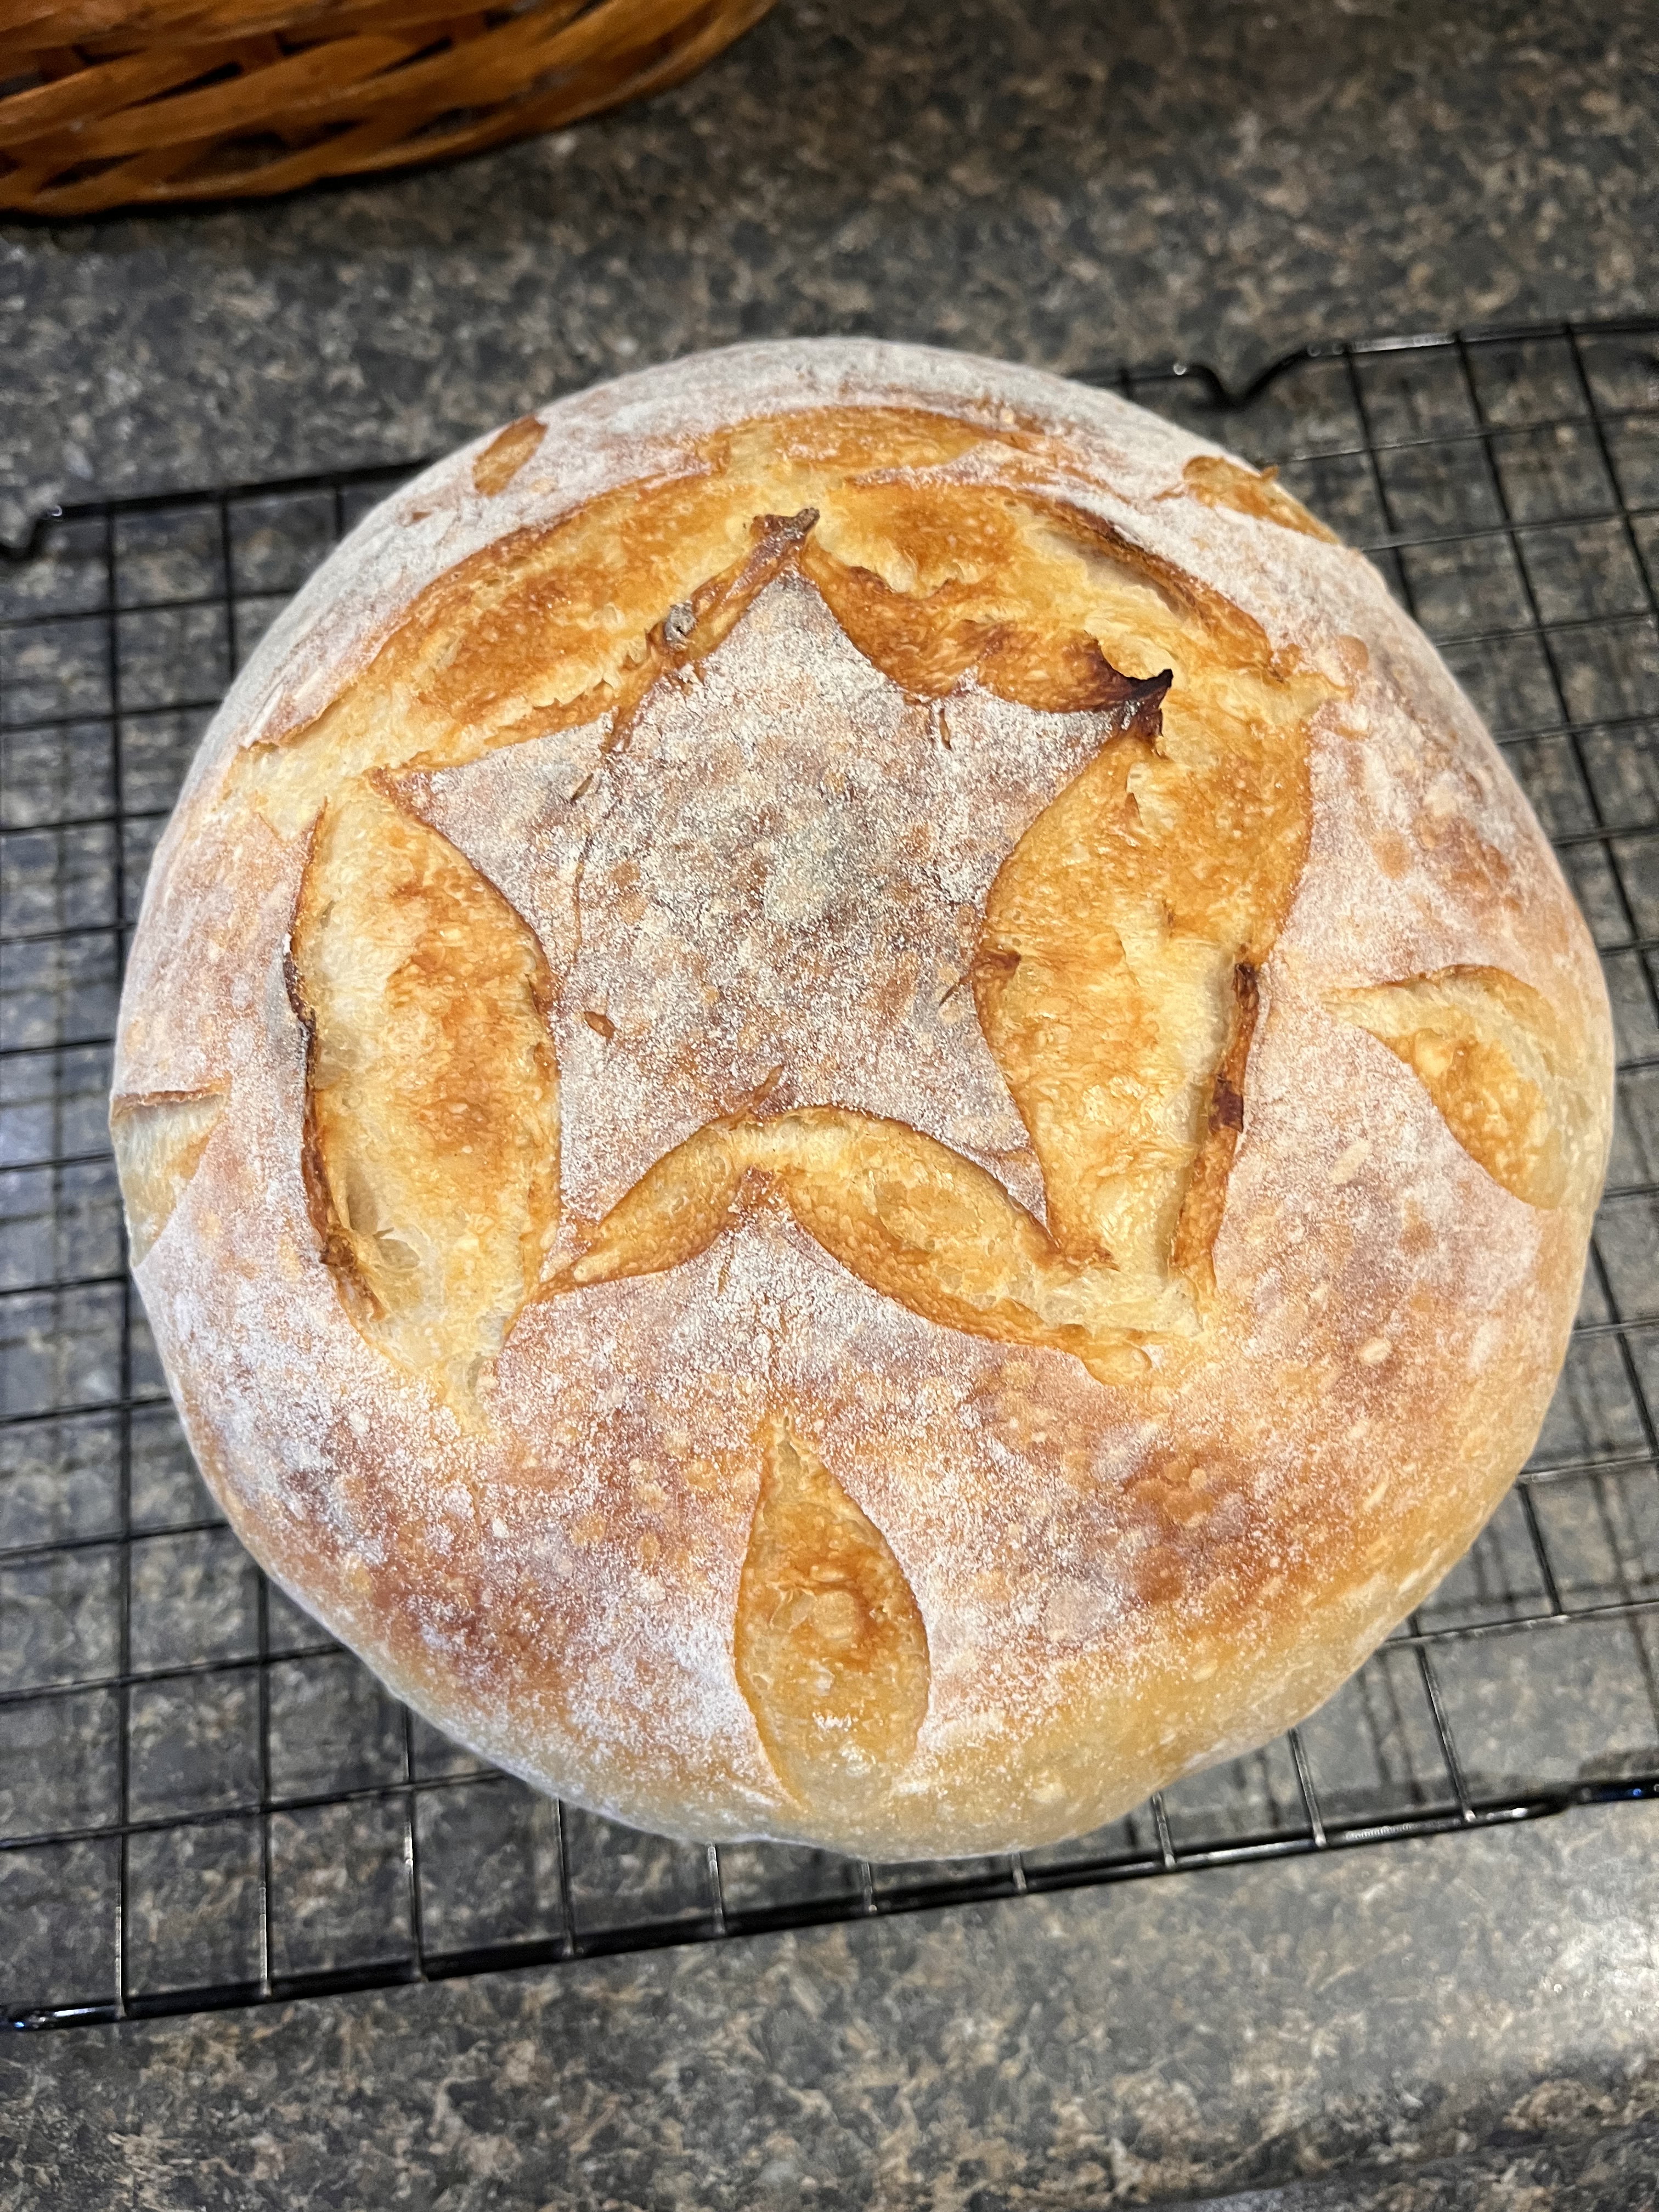
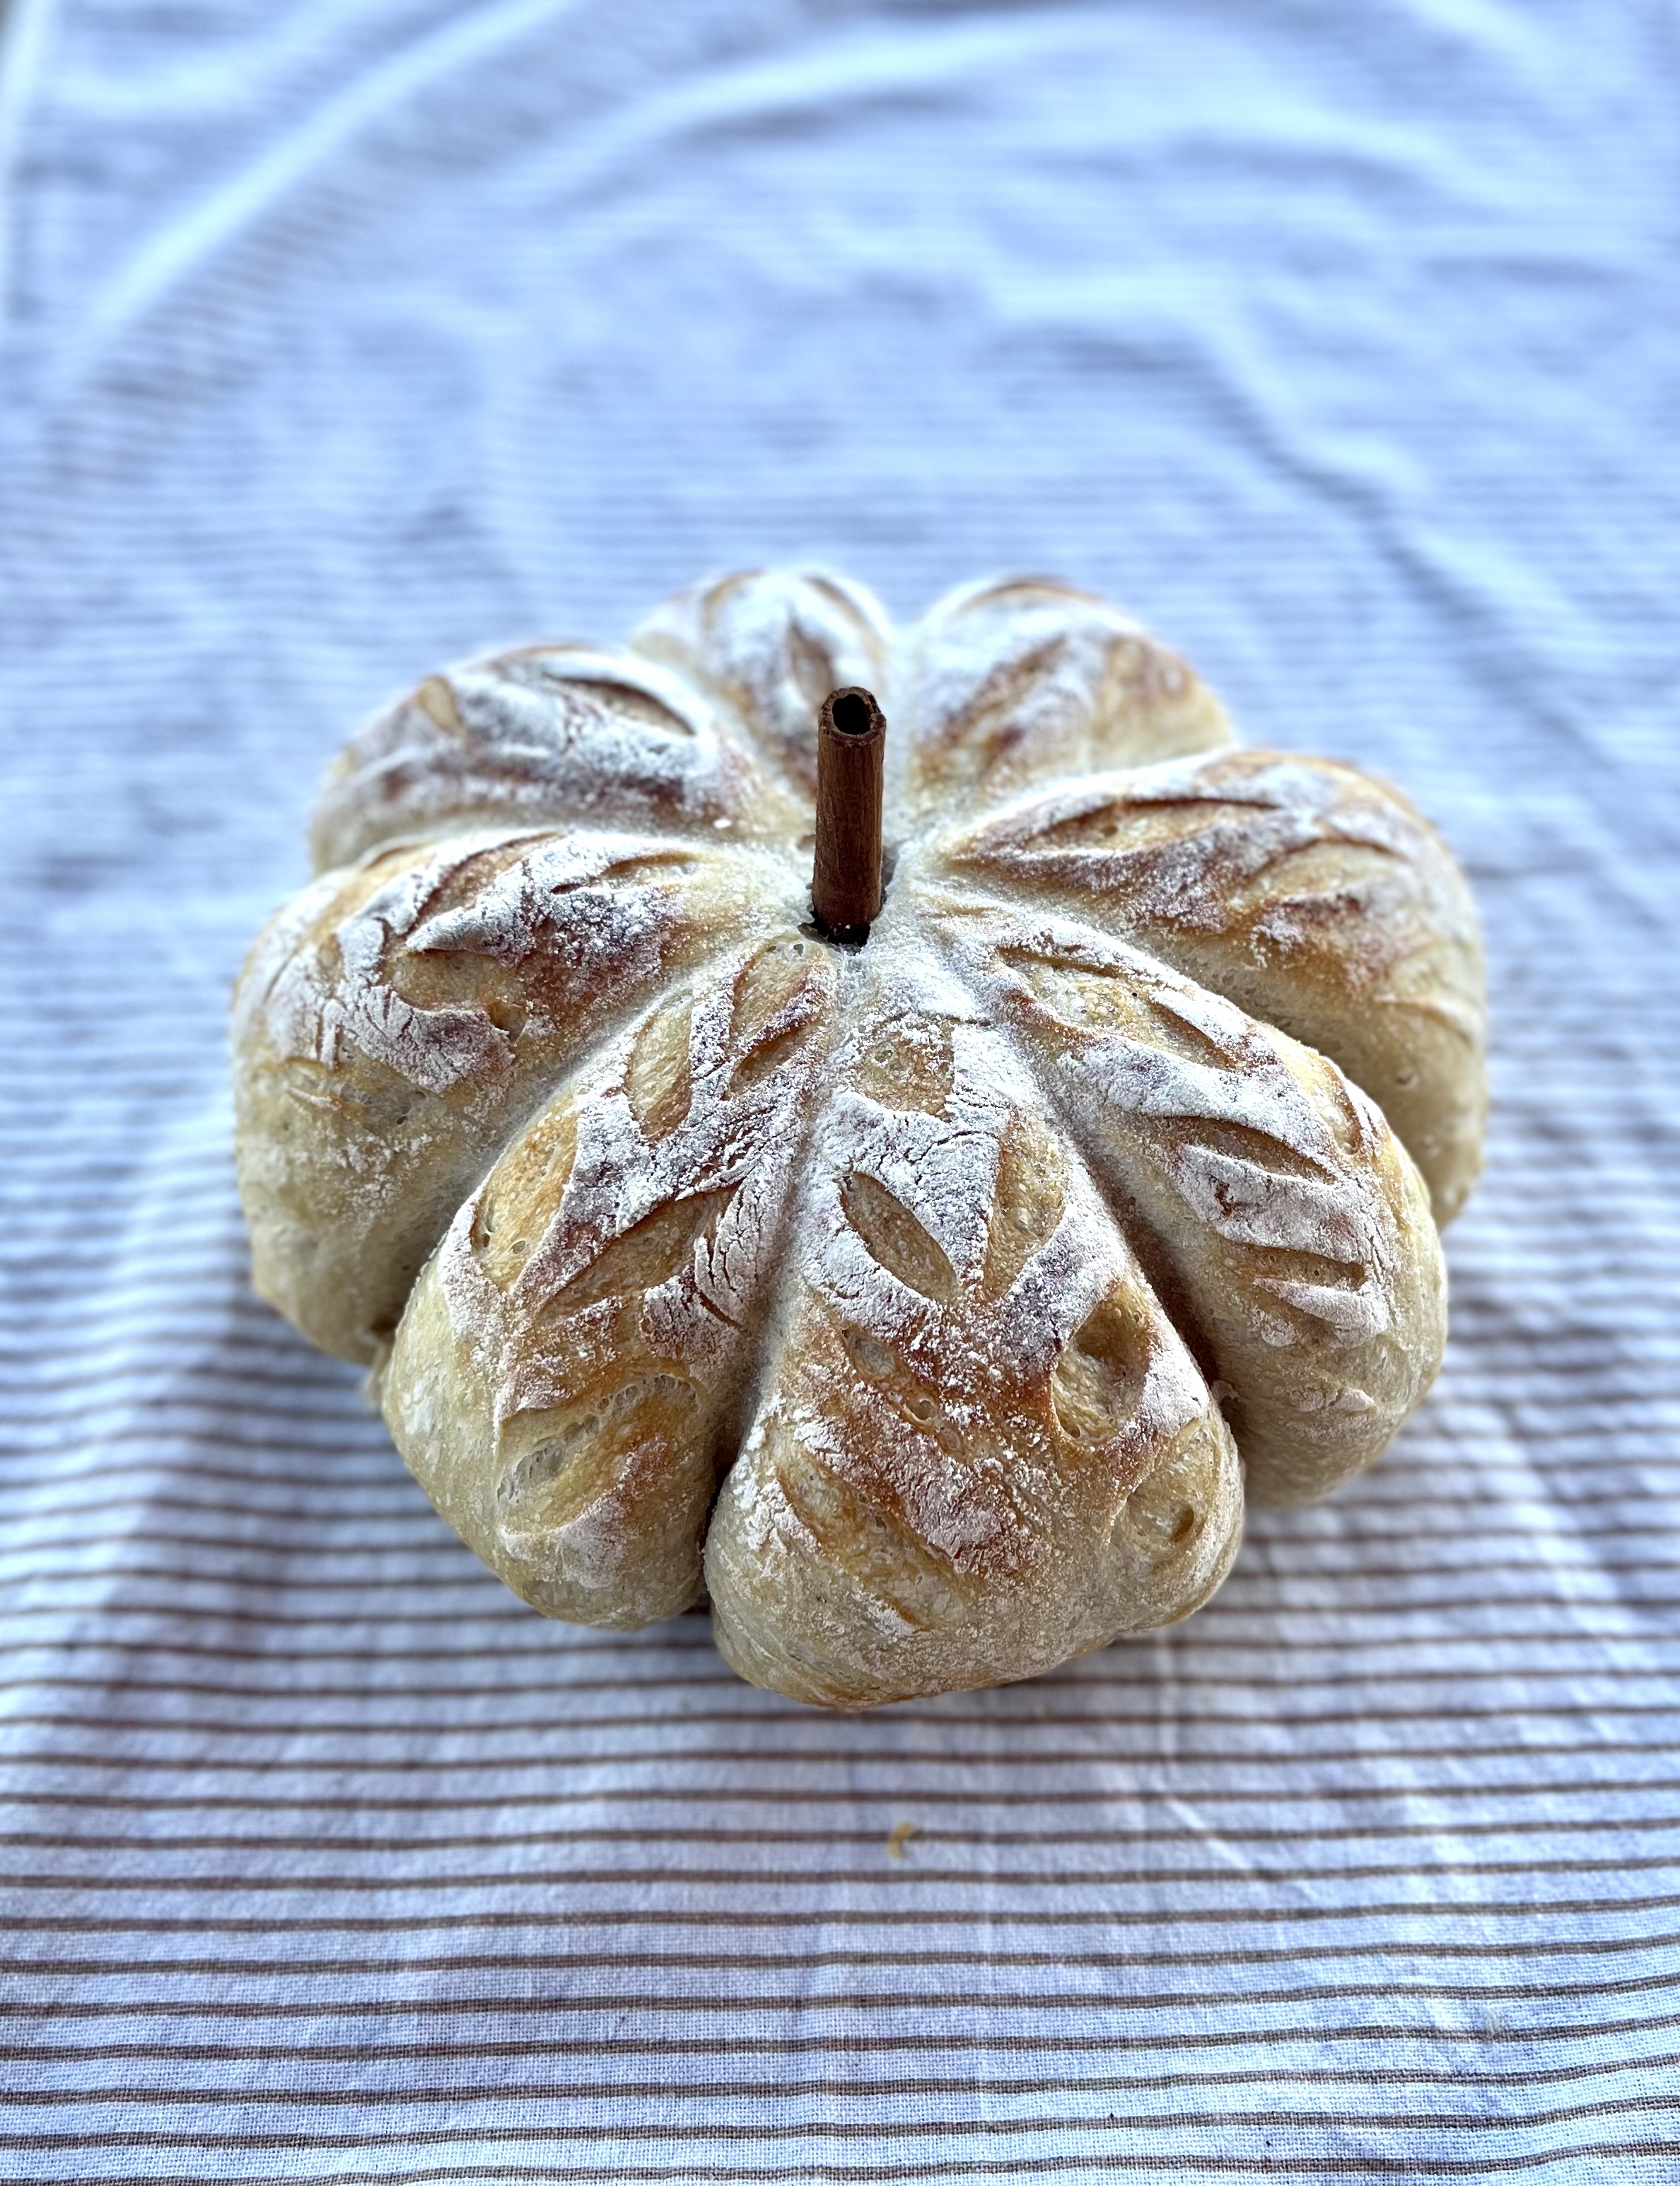
9. Next, I put it on parchment and cover the other side with rice flour. This also makes it much easier to score! I tend to use this score pattern the most, but the options are limitless. I find some on Pinterest and in various videos, posts, etc. I have made a turkey, pumpkin, and a loaf with Christmas trees!
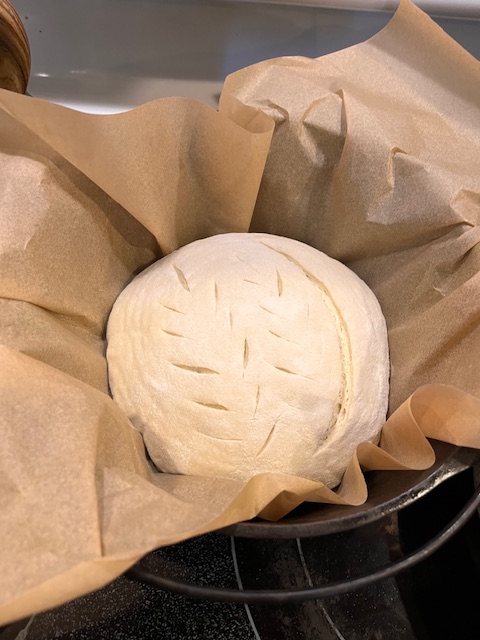
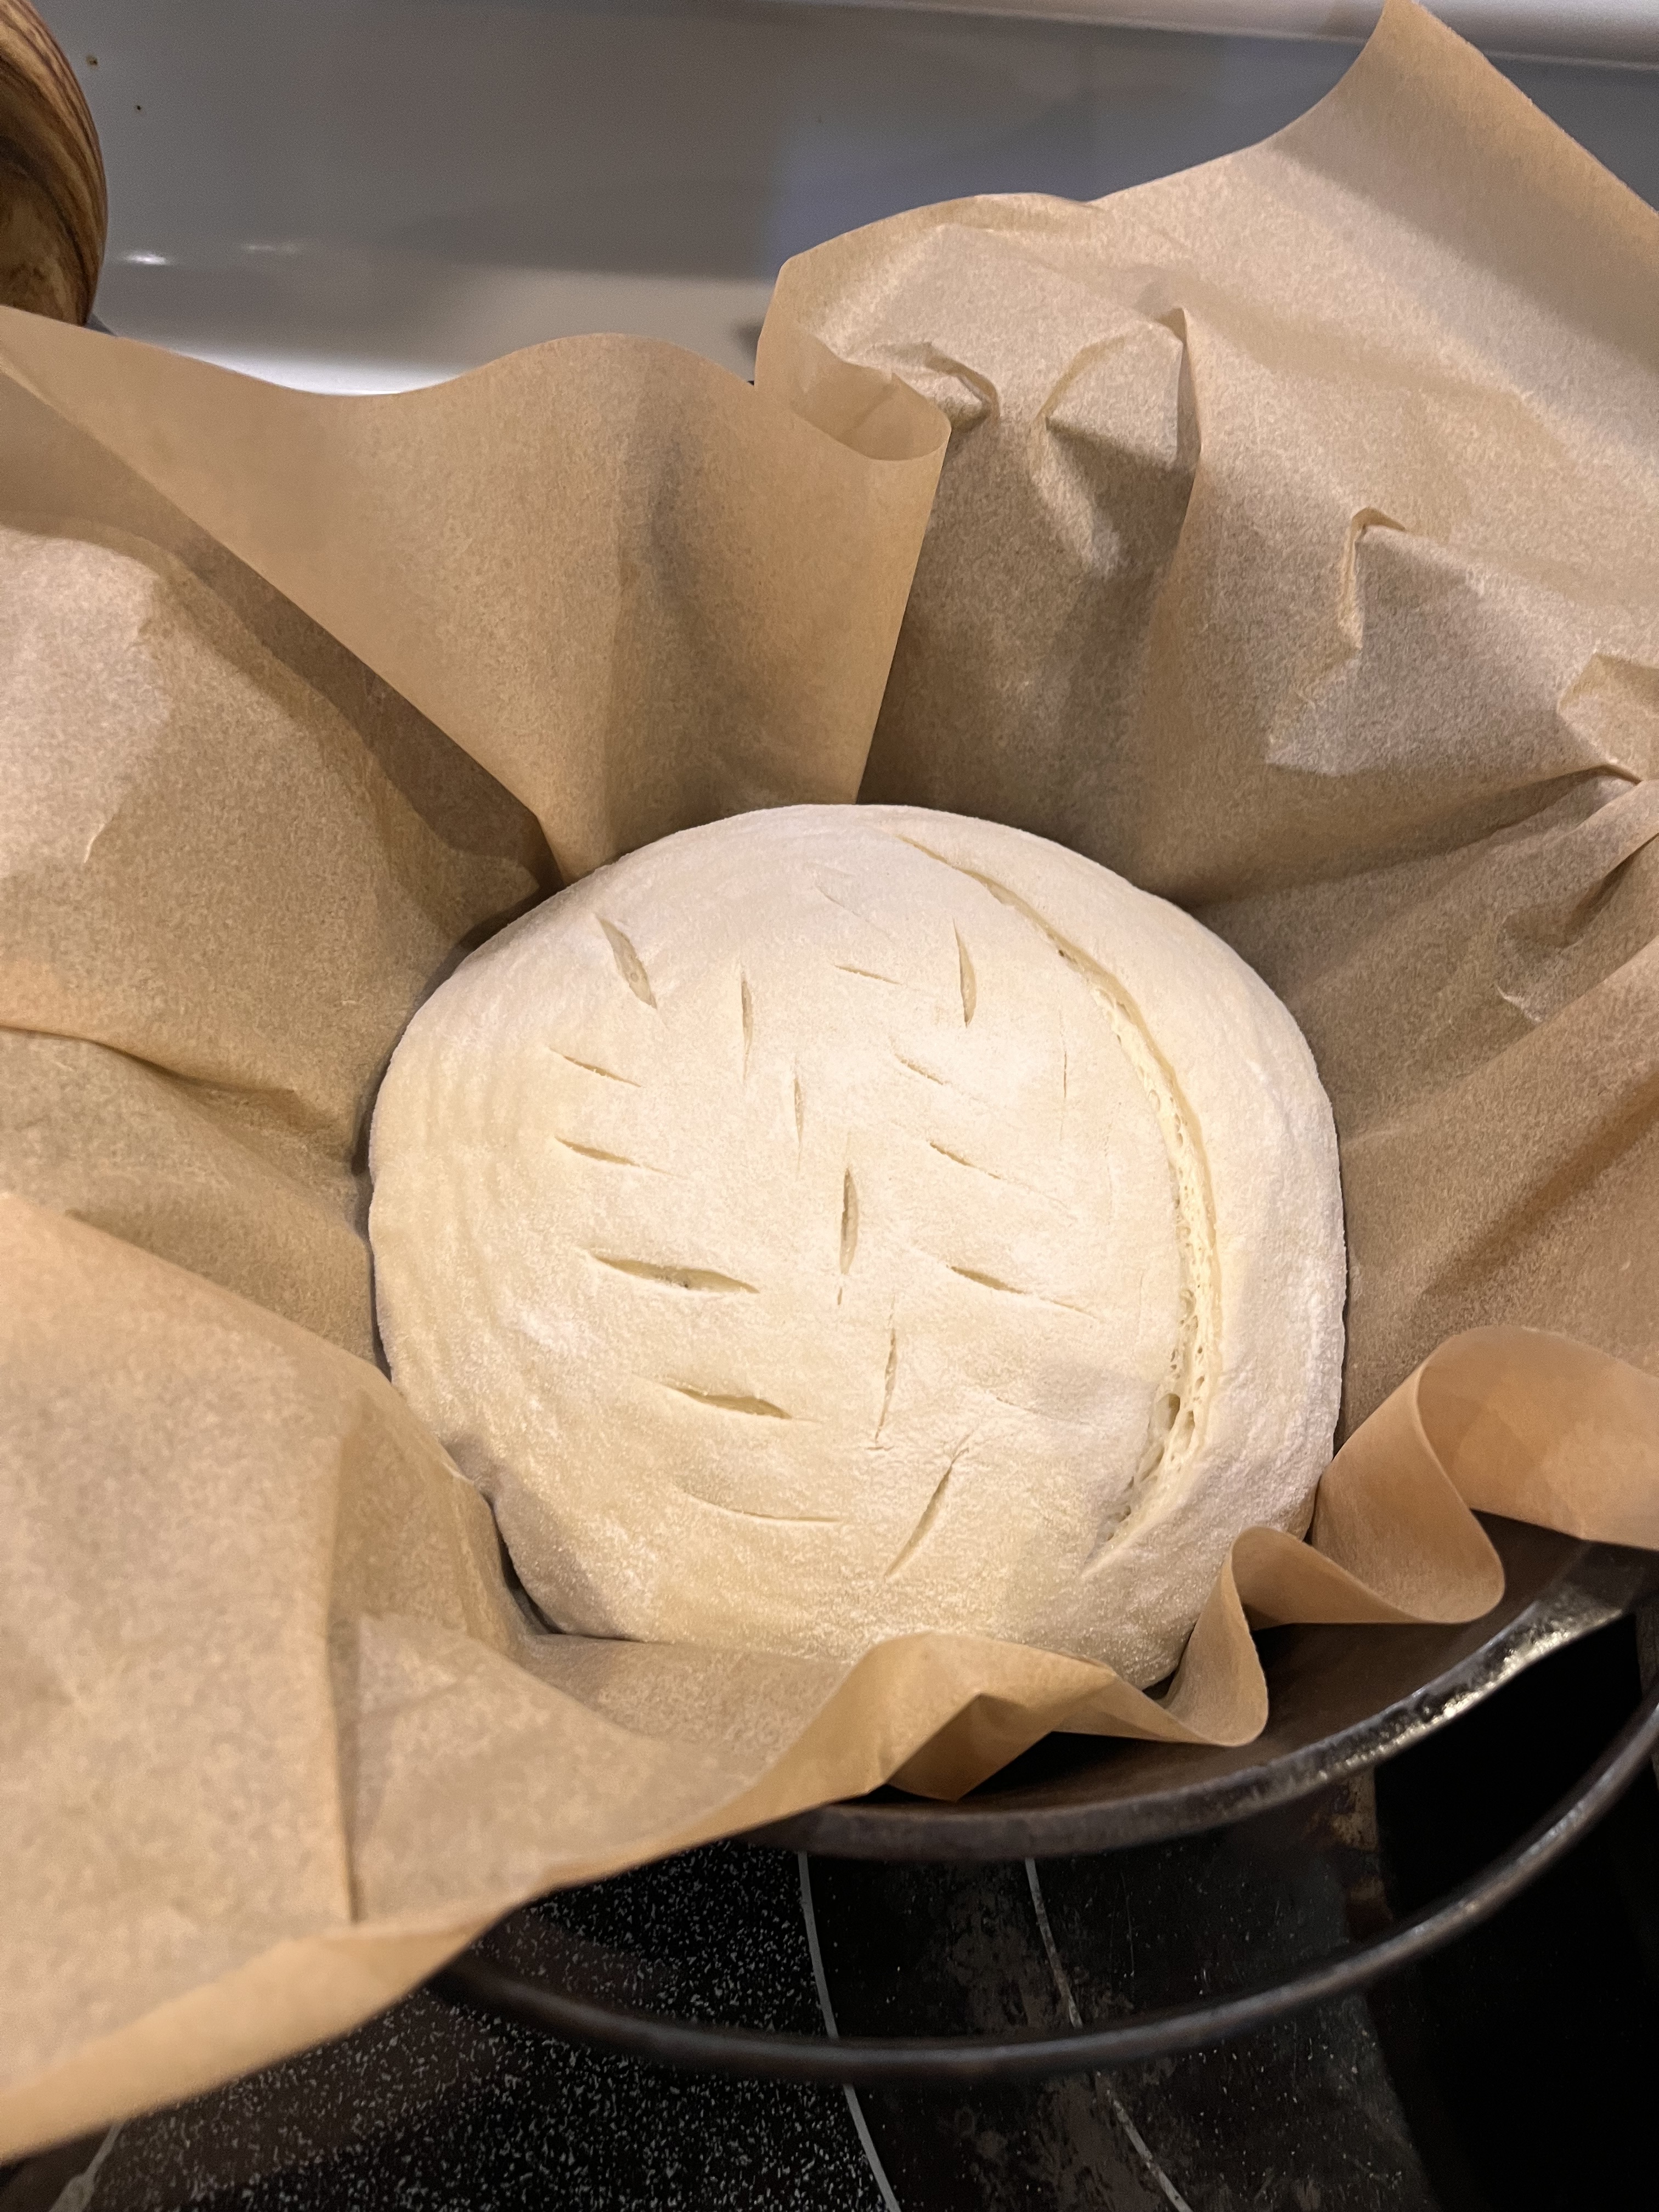
10. Now it is time to place the parchment with the dough into the cast iron (or whatever dish you choose to bake in). I use the dough scraper to shape it one last time.

11. Bake covered for 20 minutes, uncover, and bake another 20-30 minutes. You will know when it is done when it sounds hollow upon thumping it! Some people prefer it darker than the way I like it. If you do, you will need to bake it to your preferred darkness. I like golden-brown! I always put it on a cooling rack and cover with a towel when fully baked! Do not cut it until it has cooled!
Again, this is hard to show in pictures, so I hope this is helpful! Please let me know if you have ANY questions! I plan to eventually do a video series on my Facebook page, so keep an eye out for that!
Here are some pics of other shapes and scores that I have done with my sourdough!


Feel free to reach out if you have any questions!


Leave a comment